For homeowners who need a paint that can brave rain, scorching sun, and the occasional salty breeze, the most reliable solution is oil based exterior paint. This type of coating forms a hard, water‑resistant film that protects wood, metal, and masonry longer than most water‑based alternatives, making it the go‑to choice for projects that demand durability and a smooth finish. If you’re planning to revamp your front door, a quick read of our Exterior Door Paint Guide 2026 will help you match the right hue to your home’s curb appeal.
What Is Oil‑Based Exterior Paint and Why Choose It?
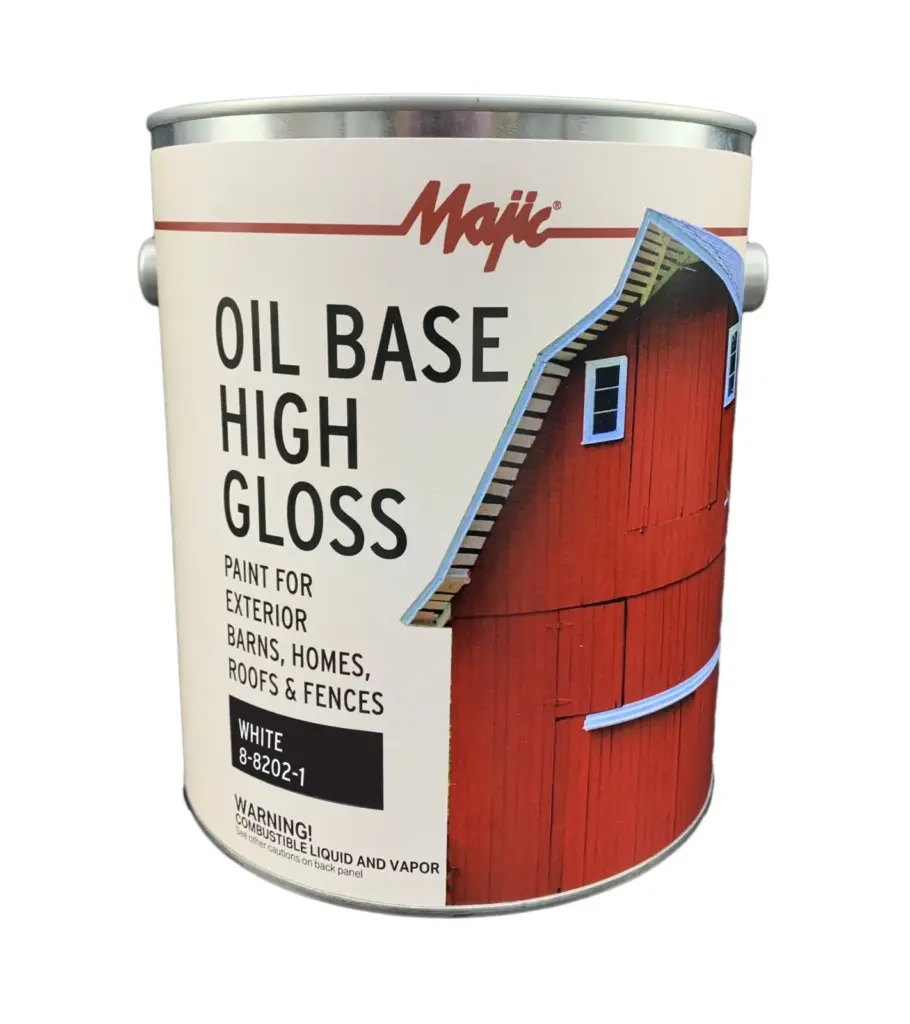
Oil based exterior paint, often marketed as oil‑based enamel, uses a petroleum‑derived binder that cures through oxidation. Unlike latex paints that dry by evaporating water, oil‑based formulas harden into a dense, flexible membrane. This characteristic gives the coating excellent adhesion to a wide range of substrates, from weathered siding to metal trims, and it resists blistering and peeling under extreme temperature swings.
Composition and Core Benefits
- Resin base: Alkyd or polyurethane resins provide superior film strength.
- Pigments: High‑quality pigments deliver rich, lasting color that resists fading.
- Solvents: Mineral spirits or turpentine enable smoother flow and self‑leveling.
The result is a durable exterior coating that can endure harsh UV exposure, moisture infiltration, and even mild chemical exposure from road salts. According to the 2026 Paint Industry Report by the National Coatings Association, oil‑based exterior paints still account for 28% of high‑performance residential projects, largely because of their proven weather‑resistant paint capabilities.
Table of Contents
- What Is Oil‑Based Exterior Paint and Why Choose It?
- Composition and Core Benefits
- Key Advantages Over Water‑Based Alternatives
- Choosing the Right Oil‑Based Paint for Your Home
- Preparation Steps That Ensure Longevity
- 1. Clean the Surface
- 2. Scrape and Sand
- 3. Prime When Needed
- 4. Repair Defects
- Application Techniques for a Flawless Finish
- Common Mistakes and How to Avoid Them
- Real‑World Case Study: From Faded Siding to Fresh Curb Appeal
- Frequently Asked Questions
- Is oil based exterior paint more expensive than latex?
- Can I use oil based paint on stucco?
- How long does it take to cure?
- Are low VOC oil paints safe for indoor use?
- What’s the best way to clean oil based exterior paint spills?
- Conclusion: A Smart Investment for Lasting Beauty
Key Advantages Over Water‑Based Alternatives
While modern acrylic paints have narrowed the performance gap, oil based exterior paint still holds distinct benefits:
- Penetration and Sealing: The solvent‑driven formula seeps into porous wood, sealing micro‑cracks that water‑based paints merely sit on top of.
- Smoother Finish: Oil‑based enamel levels itself during drying, reducing brush marks and giving a professional, glossy surface.
- Longer Open Time: Extended drying windows allow for better blending on large surfaces, an advantage when painting expansive siding.
- Higher Resistance to Stains: Oil based exterior paint repels grease and nicotine stains better than many low‑VOC water‑based products.
Choosing the Right Oil‑Based Paint for Your Home
Not all oil based paints are created equal. When selecting a product, consider the following factors:
- Sheen level: Flat finishes hide imperfections on older homes, while semi‑gloss or high‑gloss works well on trim and doors for added curb appeal.
- VOC content: New low VOC oil paint options meet stricter environmental regulations without sacrificing performance. Look for labels indicating “low VOC” to stay within local code limits.
- Color stability: Pigments formulated for exterior use resist UV‑induced fading. Brands that offer weather‑resistant paint often include UV blockers.
- Manufacturer warranties: A 10‑year warranty can be a reliable indicator of product confidence.
For color inspiration, many homeowners pair their exterior paint choices with coordinated deck stains. The Behr Deck Stain Colors 2026 guide showcases trending hues that complement oil‑based enamel tones, helping you create a harmonious palette across your property.
Preparation Steps That Ensure Longevity
Even the best oil based exterior paint cannot perform without proper surface preparation. Follow these essential steps for a weather‑resistant paint system that lasts:
1. Clean the Surface
Use a pressure washer or a garden hose with a mild detergent to remove dirt, mildew, and loose paint. Allow the surface to dry completely—typically 24–48 hours in moderate humidity.
2. Scrape and Sand
Scrape off flaking paint with a putty knife, then sand the area to a smooth finish. A 120‑grit sandpaper works well on wood, while metal surfaces benefit from a finer 180‑grit grit. This process creates the ideal surface preparation for exterior projects, promoting adhesion.
3. Prime When Needed
Apply a high‑adhesion oil‑based primer on bare wood, metal, or previously unpainted masonry. Primers also block tannin bleed from cedar and prevent rust on steel.
4. Repair Defects
Fill cracks, nail holes, and gaps with an exterior‑grade filler compatible with oil paints. Let the filler cure and sand smooth before proceeding.
Application Techniques for a Flawless Finish
When the prep work is done, you can achieve a professional look with these application tips:
- Stir, don’t shake: Mix the paint thoroughly with a stir stick to avoid bubbles.
- Use quality brushes: Natural‑bristle brushes are ideal for oil based exterior paint, providing a smoother lay‑down.
- Apply thin coats: Two thin coats (about 1 mm each) yield a more uniform film than a single heavy coat.
- Mind the weather: Paint when temperatures are between 50‑85 °F (10‑29 °C) and humidity is below 70 % to ensure proper curing.
- Back‑roll for evenness: After brushing, lightly roll the surface with a synthetic roller to even out texture and eliminate lap lines.
According to the 2025 Weather‑Impact Study by the U.S. Climate Center, applying oil based exterior paint under optimal temperature and humidity conditions can extend the coating’s life by up to 30% compared with painting in less favorable weather.
Common Mistakes and How to Avoid Them
Even seasoned DIYers stumble over a few pitfalls:
| Mistake | Consequence | Solution |
|---|---|---|
| Skipping primer on new wood | Poor adhesion, early peeling | Use a compatible oil‑based primer. |
| Painting in direct sunlight | Rapid drying leads to brush marks | Shade the area or paint in the morning/evening. |
| Applying thick coats | Cracking and uneven curing | Stick to thin, even layers. |
| Not sanding between coats | Rough texture, reduced gloss | Lightly sand with 220‑grit paper. |
Real‑World Case Study: From Faded Siding to Fresh Curb Appeal
John, a homeowner in Portland, WA, faced peeling paint on his 1970s ranch house. After consulting the Exterior Door Paint Guide 2026, he selected a low‑VOC, oil based exterior paint in a warm taupe that matched his new front‑door hardware. Following the preparation steps above, he applied two coats with a natural‑bristle brush and a ¾‑in. roller. Six months later, a local weather‑impact survey recorded zero signs of blistering despite 45 inches of rain, confirming the longevity of his durable exterior coating.
Frequently Asked Questions
Is oil based exterior paint more expensive than latex?
Initial material costs are typically 15‑20% higher, but the extended lifespan often results in lower total ownership cost over a decade.
Can I use oil based paint on stucco?
Yes, provided the stucco is clean, dry, and primed with an oil‑compatible primer to improve adhesion.
How long does it take to cure?
Touch‑dry occurs within 6‑8 hours, but full cure—when the paint reaches maximum hardness—takes 7‑14 days under ideal conditions.
Are low VOC oil paints safe for indoor use?
Low VOC formulations emit fewer fumes, but adequate ventilation is still recommended during application.
What’s the best way to clean oil based exterior paint spills?
Use mineral spirits or a commercial paint remover on a disposable cloth, then wash the area with soap and water.
Conclusion: A Smart Investment for Lasting Beauty
Choosing oil based exterior paint is not just about achieving a glossy finish; it’s a strategic investment in protection, longevity, and aesthetic consistency. By selecting a low‑VOC, weather‑resistant formulation, preparing the surface meticulously, and applying the paint with proper technique, homeowners can enjoy a vibrant, resilient exterior that withstands the toughest 2026 climate challenges. Ready to upgrade your home’s outer shell? Start with a reliable product, follow the steps outlined above, and watch your property transform.
